Xenix 2.2.3c Restoration: Xrossing The X (Part 4)
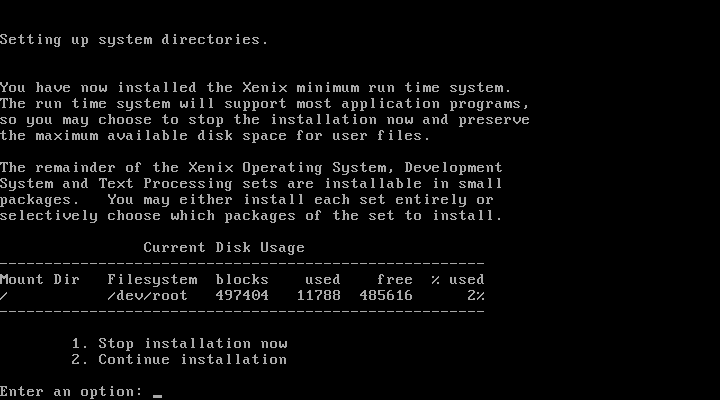
Last time — with the help of the excellent Michal Necasek of the OS/2 Museum — we talked about mapping the damage within the existing Xenix 386 disks and successfully got the system to the end of installation.
For those new to the series, I recommend you catch up with the previous three articles:
- Restoring Xenix 386 2.2.3c, Part 1
- Xenix 2.2.3c Restoration: No Tools, No Problem (Part 2)
- Xenix 2.2.3c Restoration: Damage Mapping (Part 3)
Unfortunately, at this point we had exhausted the data we could successfully recover from the TeleDisk images, so now it was time to think laterally in our quest to restore viable installation media. Back in Part 2, I posted the disk headers from each disk indicating what it was and where it was in the set:
./tmp/_lbl/prd=xos/typ=386AT/rel=2.2.3c/vol=N03
./tmp/_lbl/prd=xos/typ=n86/rel=2.2.2c/vol=B02
./tmp/_lbl/prd=xos/typ=n86/rel=2.2.2c/vol=X01
And also noted that there was a slight version mismatch (2.2.3 vs 2.2.2). What I didn’t point out was the type was different: n86, vs 386AT; Xenix speak for “generic x86” vs. “386 AT”. As Michal and I discussed it, I realized there was another place we could go to find sectors.
In-Depth Analysis
By extracting what I could from the damaged archives, what struck me the most where the modification times of some of the binaries:
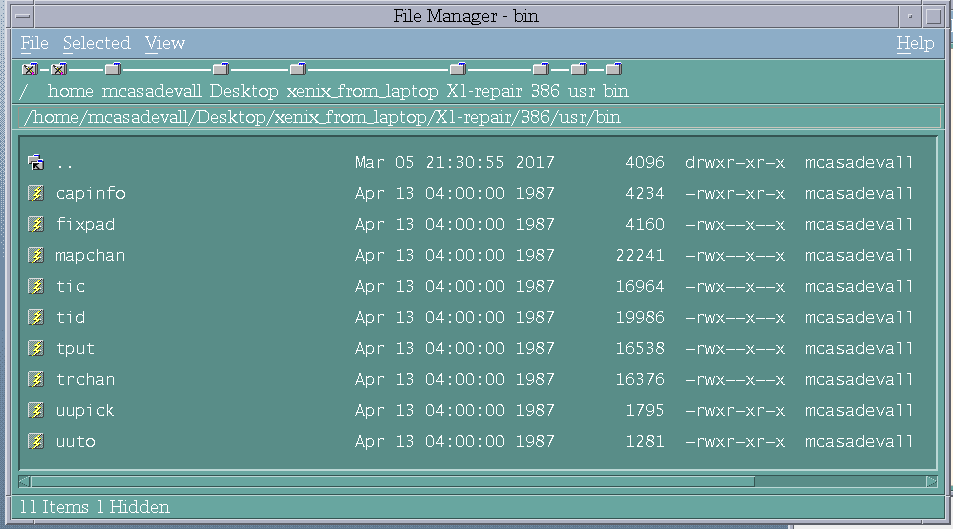
April 13th, 1987. Quite a bit before the files on the N disks, which date to late November 1987 to early 1988. The file utility (which understands x.out headers) also showed that these binaries were *not* 386 specific:
$ file *
capinfo: ASCII text
fixpad:  Microsoft a.out [..] V2.3 V3.0 86 small model executable
mapchan: Microsoft a.out [..] V2.3 V3.0 86 small model executable
tic:     Microsoft a.out [..] V2.3 V3.0 86 small model executable
tid:     Microsoft a.out [..] V2.3 V3.0 86 small model executable
tput:    Microsoft a.out [..] V2.3 V3.0 86 small model executable
trchan:  Microsoft a.out [..] V2.3 V3.0 86 small model executable
uupick:  ASCII text
uuto:    ASCII text
Given we had already struck paydirt with the International Supplement and /etc/init, was it possible that (nearly) identical binaries might have shipped as part of another Xenix release?
At the time, SCO had three known releases of Xenix 2.2 for the x86 architecture: a 286 version, a 386 version for AT-compatibles, and a 386 version for PS/2. At the time, only the first one was known to exist, and more importantly, had been dumped. As such, I grabbed a copy of Xenix 286 2.2.1, the closest version known to match what we had.
Unlike the 386 version, Xenix 286 was shipped in the form of 7 high-density 5.25-inch floppy disks (1.2 MiB) instead of low density disks. After extracting the archives, I found exactly what I was looking for:
./tmp/_lbl/prd=xos/typ=286AT/rel=2.2.1e/vol=N02
./tmp/_lbl/prd=xos/typ=n86/rel=2.2.1c/vol=B01
./tmp/_lbl/prd=xos/typ=n86/rel=2.2.1c/vol=X01
./tmp/_lbl/prd=xos/typ=n86/rel=2.2.1c/vol=X02
./tmp/_lbl/prd=xos/typ=n86/rel=2.2.1c/vol=X03
Not a perfect match, but the Extended Utilities disks were de-facto shared between the 286 and 386 versions. Running cmp against a few binaries revealed that the vast majority were identical, though a few were different. This showed that SCO only recompiled something if it changed vs. doing a blanket recompile which likely was done to help reduce QA workload. Jackpot!
By carefully comparing with a hex editor to make sure the ends matched, I transplanted the missing sectors from the donor, and put them into the correct places in the X disks. That got me a reassembled X1, one of the two sectors in X3, and X4. Unfortunately, doscat on X2 had changed, so I set that aside for now. Nonetheless, halfway there.
Tar Format Details
Having hit paydirt, I turned my attention to the parts of the disk where a missing sector had bisected a file on X3, and X5. As technology has moved on over the years, even time-tested utilities such as tar have seen changes to keep up with the times. The archives on the disks were in what was known as the original “v7” tar format which has a simple and straightforward header (from Wikipedia):
| Offset | Size | Field |
| 0 | 100 | File name |
| 100 | 8 | File mode |
| 108 | 8 | Owner's numeric user ID |
| 116 | 8 | Group's numeric user ID |
| 124 | 12 | File size in bytes (octal base) |
| 136 | 12 | Last modification time in numeric Unix time format (octal) |
| 148 | 8 | Checksum for header record |
| 156 | 1 | Link indicator (file type) |
| 157 | 100 | Name of linked file |
Additionally, tar works on the concept of blocks, where are 512 bytes in length. My examination of the installer revealed that the disks were written with a blocking factor of 18, or in other words, each file was chunked into records of 9216 bytes (512*18). If the file wasn’t an exact multiple of 9216, it would be padded out to that length, and then the next record header would follow.
The tar header itself is also stored in its own unique block, and padded out to 512 bytes. For those keeping track at home, a missing sector on these disks were also 512 bytes. You might see where I’m going with this. By sheer luck, all three bifurcations happened in this padding section, and had annihilated the header, but left the binary data following it complete intact. By manually extracting this data, I confirmed that the binaries in all three cases matched binaries on Xenix 286.
By working backwards from the start of the binary data, I located the exact place in the archive the header *should* be. Due to the way blocking worked, the header would always be at the start of the 512 byte boundary that had been annihilated in the bad dumps. Since I knew the binaries matched the older release, I simply dropped in the old tar headers, saved the files, and “blamo”. That restored everything expect doscat, and a test on the VM confirmed I got working (and valid!) binaries. X1, and X3-5 were now fully restored.
Using the same technique, Michal reassembled the games disk.
Interlude: Serial Garbage
Before we get into talking about doscat, one thing that had been driving me up a wall was I couldn’t get the serial ports to work. They were being properly enumerated, and I could even bring them up with “enable tty1a”, but shortly afterwards, I’d get the following message:
“garbage or loose cable on serial dev 0, port shut down”
Searching on USENET showed that this was a relatively common problem in the era, and SCO even released a SLS update for Xenix 2.2 286 and 2.3 386 for it. Unfortunately, they *didn’t* release the update for 2.2 386, and even with that update, it appears this bug may have persisted well into the future as I could find reports of UnixWare reporting this error under VMWare.
I managed to identify the serial interrupt vector (_sioinir), but before I could even dig deeply into it, Michal beat me to the fix. I’ll let him explain in his own words:
The problem is that the emulated serial port is “too fast” and outgoing data may move over the virtual wire as fast as it is written. The Xenix driver does not expect that and if it successfully writes 10 characters in a row from its interrupt handler, or more accurately if there are still pending interrupts after ten loops through the interrupt handler, it throws up its hand and goes off to sulk in the corner.
Fortunately it’s easy to patch out the 10-loop limit and get functioning serial terminals.
(in this specific case, NOPing out the inc instruction in the serial driver).
With an even more patched kernel in place, I could now raise a terminal and enjoy copy and paste!. Unfortunately, vi wasn’t completely happy with this; Xenix doesn’t understand xterm termtype, and it *really* wants a legitimate vt100 on the other end of the connection. Still for basic data copying, it was wonderful, and would open the door to doing MicNet, and UUCP in the future.
As of this writing, I haven’t taught Xenix what an “xterm” is, but I could probably add it to it’s termcap database and rebuild it for a fully functional vi. Interesting, DTTerm from CDE works perfectly, and vi is much happier with it than the standard gnome-terminal or PuTTY.
And with that side trip over, let’s get back to doscat.
doscat
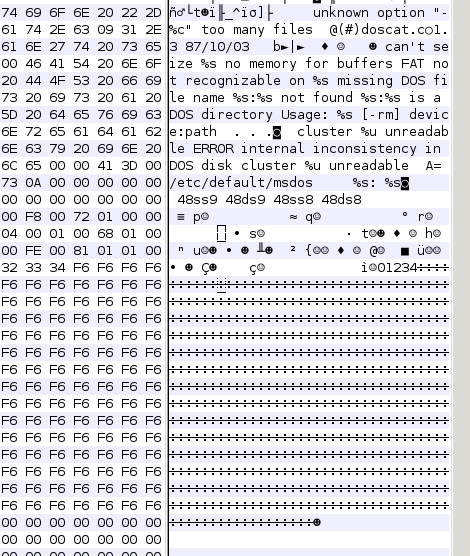
doscat was the first sector where reconstruction vs. recovery came into play. As I mentioned before, Xenix used its own variation of the x.out binary format to support multiple code and data segments. In this specific case, the missing piece of data was located towards the tail end of the binary — in the data segment — not far past the end of the string table. Given that we had two other versions of doscat to compare it to, Michal and I tried to reconstruct it.

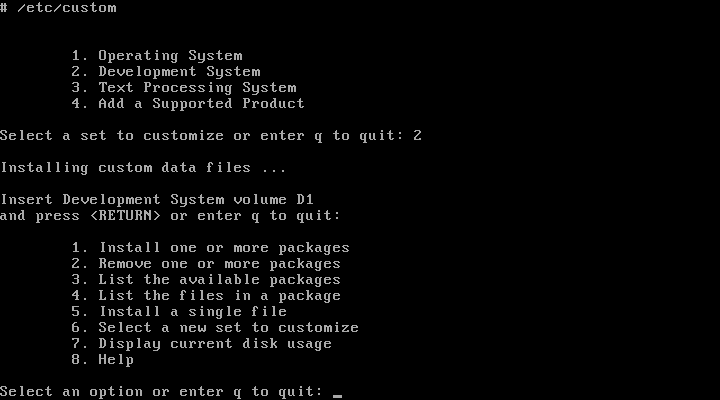
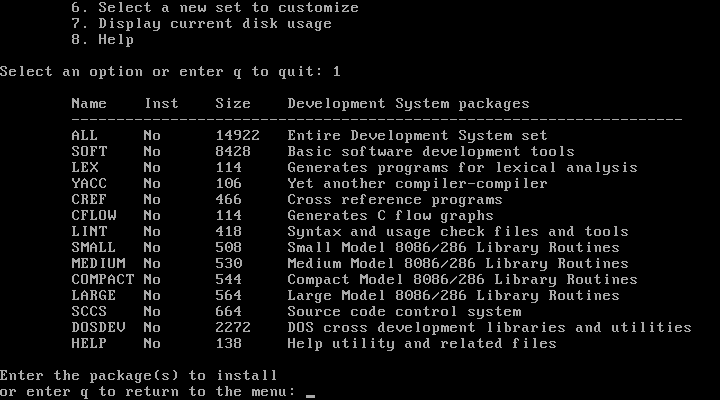
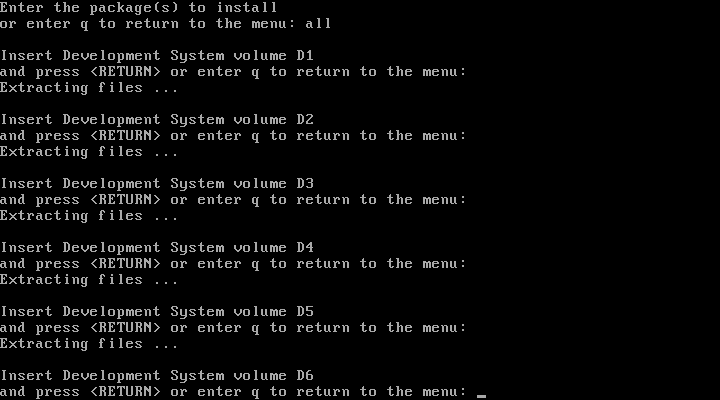
Our one hint was the missing data block started with 02. Fortunately, a known copy of the Xenix development tools for 386 2.3 has survived, and better still, it was install-able with the "custom" utility.
The ‘hdr’ utility confirmed that the missing bit was indeed in the data segment:
# hdr /usr/bin/doscat
magic number:   206     (x.out)
ext size:       002c
text size:      00004141
data size:      00000bbc
bss size:       00000f64
symbol size:    00000000
reloc table:    00000000
entry point:    003f:0000
little endian byte ordering
little endian word ordering
cpu type:       8086
run-time environment:
        Xenix version 5
        segmented format
        Small model, fixed stack, pure text, separate I & D, executable
stack size:     00001500
segpos:         00000060
segsize:        00000040
Using adb to explore the broken data segment, with the default fill pattern of F6, it would segfault with trying to write to binary location 0xF6F6, but doscat -h worked. Nulling out the block caused all output from the command to die. Michal managed to determine it was part of the __iob block which defines standard I/O operations, and successfully copied it from another version of doscat.
I think the area just before the end of the missing sector within ‘doscat’ contains the __iob array or something like that. The 02h byte which survived was almost certainly supposed to be preceded by 06h and a few other bytes. If it’s all zeroed, there will be no I/O (stdout closed or whatever). If F6h bytes are in place, some I/O might happen.
The 02h likely corresponds to the _file field of the stderr entry.
My earlier attempts to reconstruct the sector were lead with failure as I had a similar (but incorrect) block of data. With the rebuilt sector in place, I could successfully install all the Extended Disks, and have a full set of working utilities. Unfortunately, due to the hosed manifest file, /etc/custom which is used to install addon software still wasn't functioning. However, manual installation via tar -xf /dev/fd0 was perfectly viable. With all the extended utilities in place, the system was considerably more complete. One step closer to full restoration. All that remained at this point were four sectors: N1’s manifest, N4’s libmdep.a, N5's adb, and I3’s installation script.
Scoreboard
As I mentioned in the previous article, a copy of Xenix 386PS emerged the day before I posted part 1 of this series. As suspected, the version of the Extended Utilities it shipped was identical in version we were rebuilding, so we could actually see how close we were. When Michal compared them side-by-side, he found that X1, 3, 4, and 5 were identical to our reconstructions!
Talk about hitting a home run! X2 was different since the rebuilt doscat sector was something of a guess of how it should work. Still, we always knew that at best this was going to be a reasonable approximation of what SHOULD be on the disks. A functional reconstruction is better than no reconstruction after all. As part of this work, we also learned a lot about the SCO copy protection which became a pain in the butt for rebuilding N4.
The Road Ahead
Looking ahead, I’ve likely got one or two more articles on reconstruction, some interesting bits of history we gleaned from an in-depth study of the Xenix compiler (which has a surprising ancestor), an article demoing some Xenix apps such as Microplan, MicNet, and if I can set it up properly, UUCP support (plus discussing bang-path addressing). After we finish with that, I might have some interesting material on NeXTstep to write up, and perhaps reboot my old Itanium box and get some OpenVMS coverage.
On the whole, I think the reception to these type of articles has been good, and I’d like to thank our subscribers for their support in helping keeping SoylentNews up for three years now. As we proceed into 2017, I’m hoping we’ll reach a level of success where we can repay the stakeholders, and perhaps even have a budget for obtaining and exploring even more interesting pieces of technology.
~ NCommander
Note: This post originally appeared on SoylentNews on March 15th, 2017
